Phoenix + Flames Sculptural Fire Pit in Mississauga, Ontario
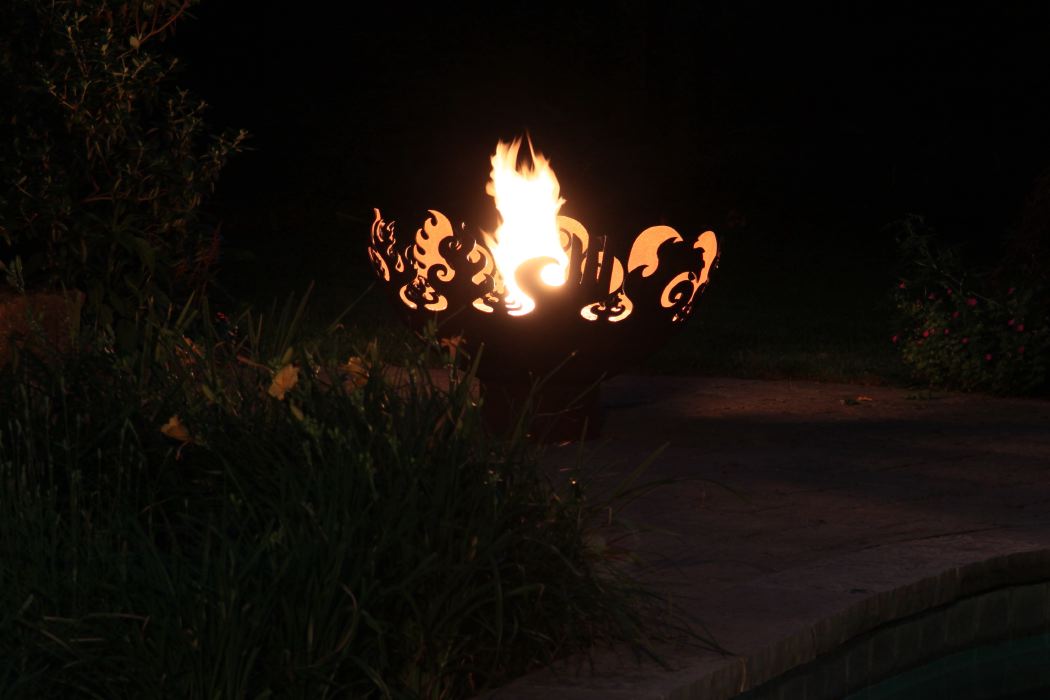
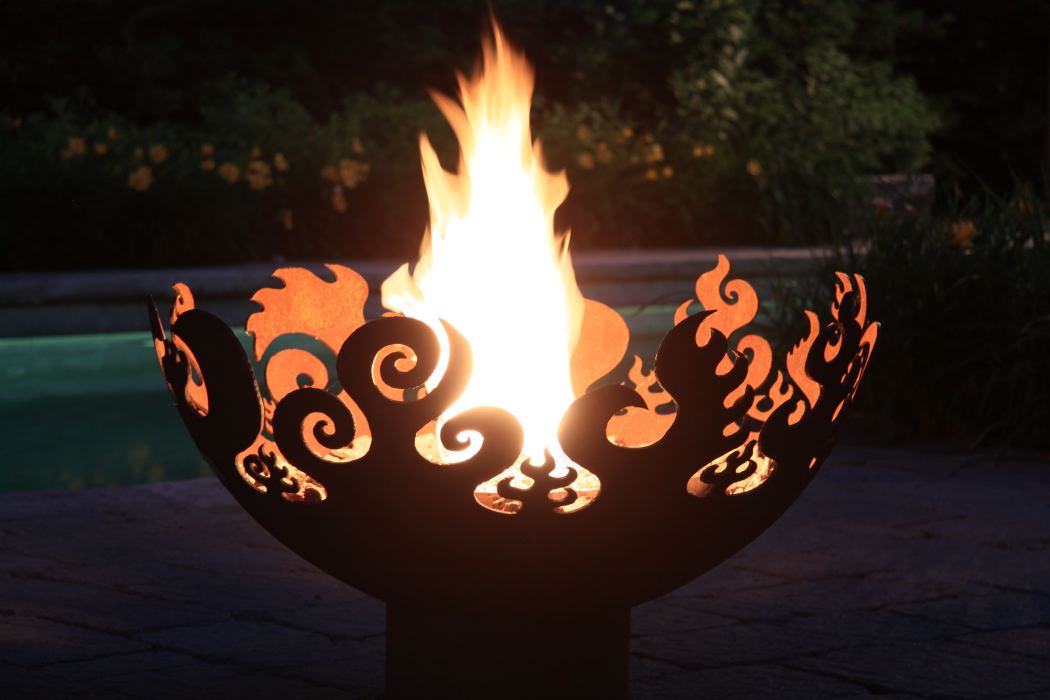
John in Mississauga, Ontario just sent in some gorgeous photos of his Phoenix + Flames Sculptural Fire Pit. The nighttime photo above even shows a flame that looks much like the signature Phoenix carved into every flame design fire pit I create.
John also shared the details of how he set up the fire pit and constructed a table to hide the propane tank. I asked permission to quote him so that others could benefit from his experience. Here’s his description:
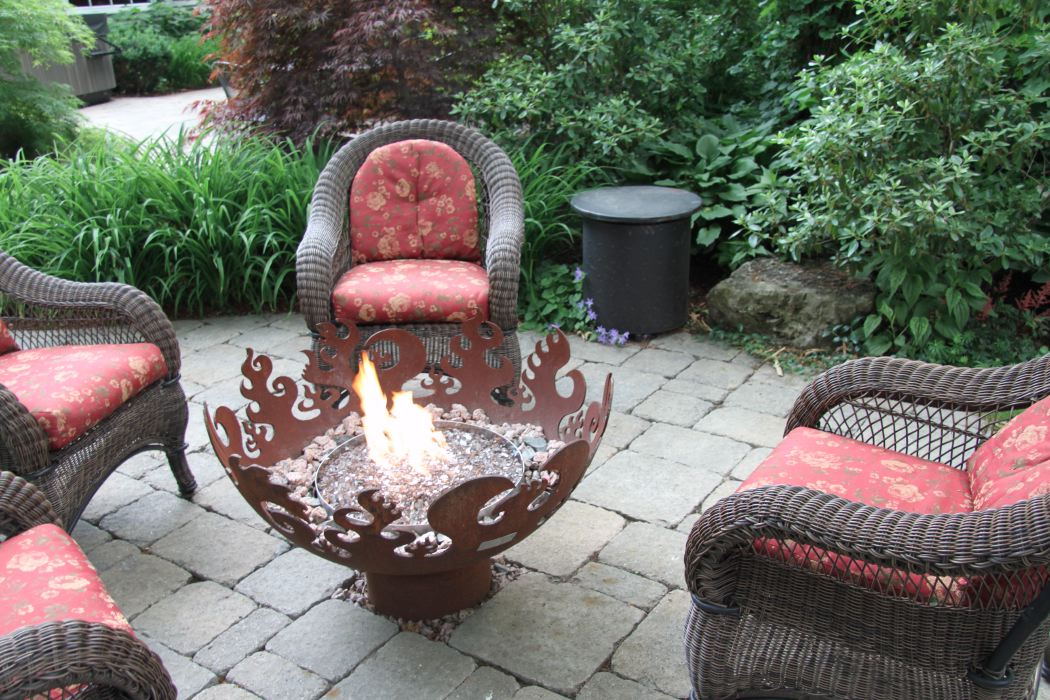
After much consideration and several changes of mind I decided to set it up for gas instead of leaving it as a wood burning fire pit (municipal regulations for one, but also ease of use). I then opted for propane over natural gas, mostly so that it would be easy to relocate the fire pit if we ever decided to. I made the little “table” sitting behind the chair out of a metal planter to house a 20-lb propane tank. This is connected by a 20 foot hose under the patio stones, through the bottom of the bowl where it in turn connects to a stand-alone stainless steel propane fire pit that I have just set into the bowl and thrown some granite stones around. (the fire pit is made by Napoleon, costs not much more than $200 and fit perfectly inside the fire pit – as a quick, easy, portable, not-too-bad looking and inexpensive set-up I think it would be tough to beat).
The only additional things I can remember right now about the set-up is that I found somewhere two round metal discs, about 21 inches in diameter, one that I use to cover the fire pit insert to protect it from the elements, and one which I use as the top of the round metal planter that hides the propane tank. I can easily just tilt it or lift it out of the way to open the tank valve or replace the tank when necessary. If I recall correctly the intended purpose of these metal discs was as floor protectors for underneath wood stoves, but they worked perfectly here – they were just the right size and weight (the wind can’t blow them, but they are easy to lift as well) and have a flat black finish. When I was making the “table”, based on what I had read, I made sure it had good ventilation for safety in the event of gas leaks – I did this by attaching small feet to the planter and drilling holes in its bottom, and then similarly placing the top metal disc on top of some rubber stops instead of directly on the sides, allowing for ventilation at the top as well as the bottom.
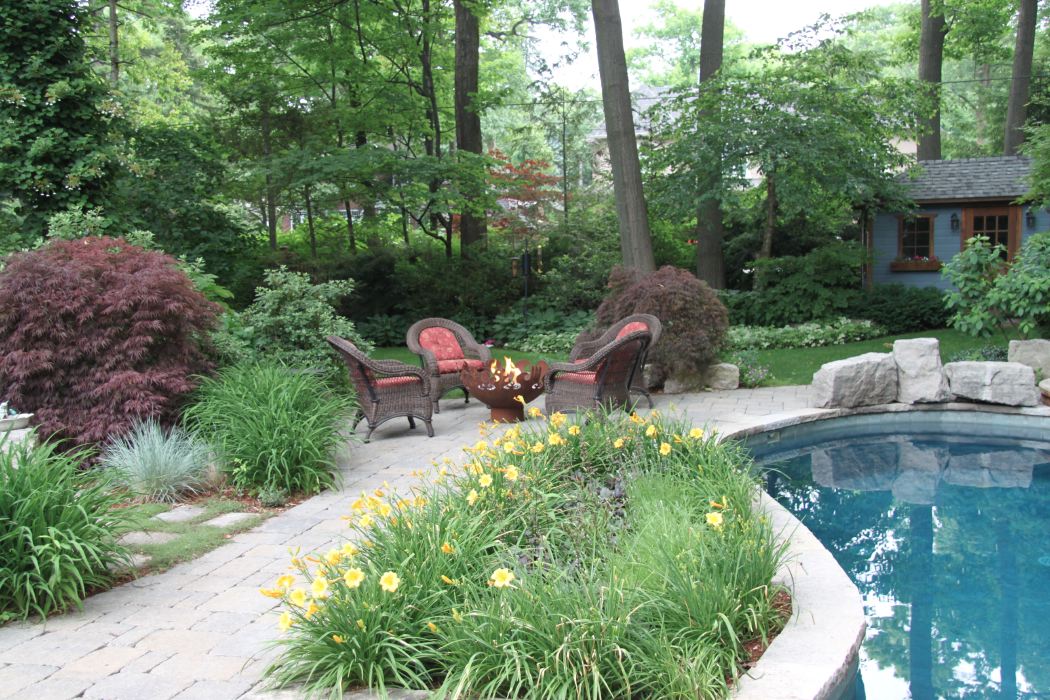
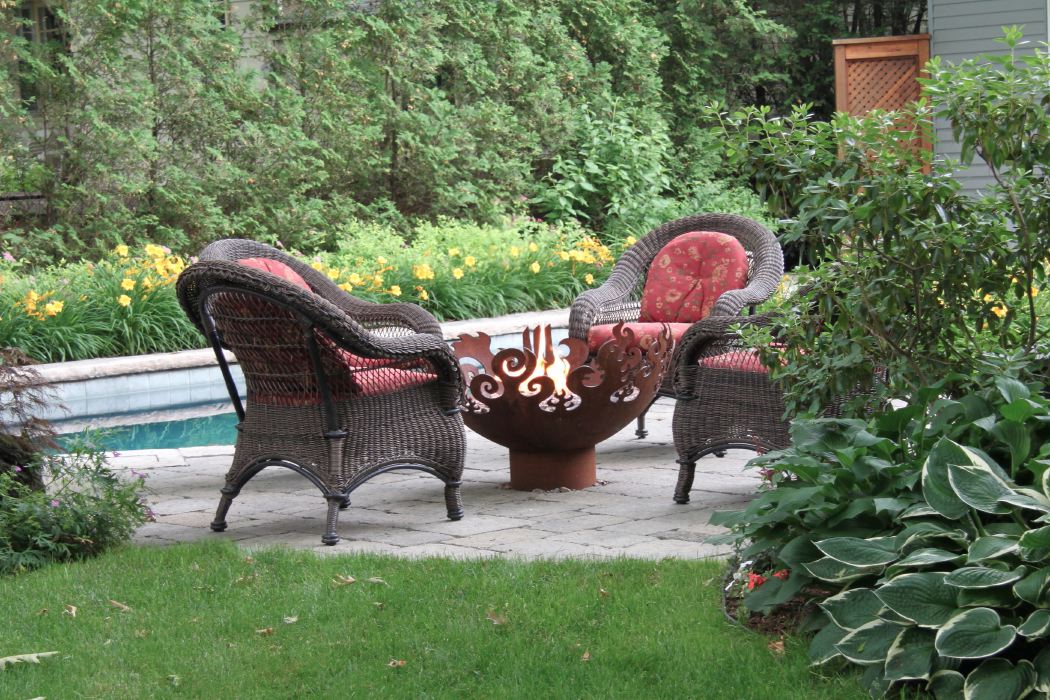
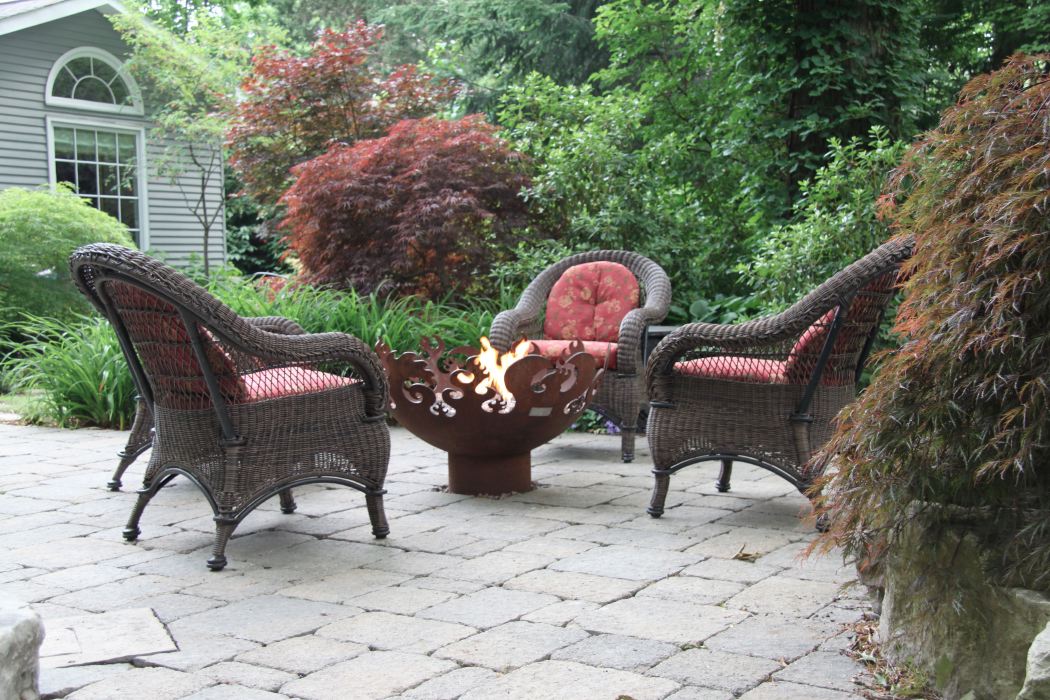
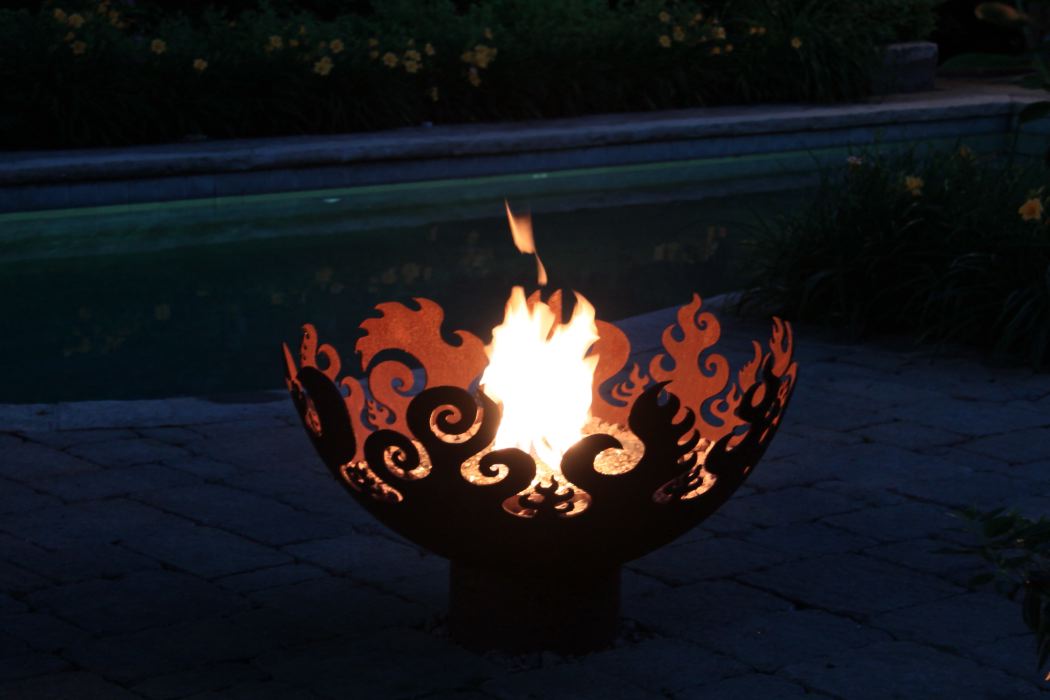
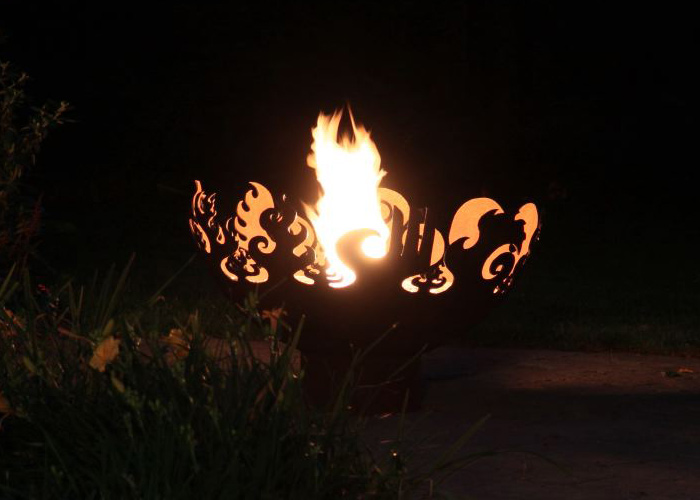
A pretty simple setup, with a very nice effect. Here are some more photos of the fire pit, pool and patio design.
Phoenix + Flames Sculptural Fire Pit with pool and patio

